By Becky Moulder
Modules are a great way to elevate your course design in Canvas and to organize content more effectively for students, particularly when a course is taught fully online. Think of Modules as building a table of contents for your course materials: You can group course materials and assessments together by week or topic and students can see at a glance all the items they need to complete for that unit.
Why should I use Modules?
Consider using Modules if you want to organize content by class session, week, topic, or theme. Modules reduce the amount of searching and clicking students need to do in order to access their course materials, significantly improving navigation. Structuring your course with Modules can also make it easier for you to quickly see how students are progressing through the content and control student access to certain materials. Unlike Files and Assignments, when you use Modules, you have full control over the order in which the content appears to students and items will appear the same way for both teachers and students.
Adding Items to Modules
After clicking the “+Module” button to create a new Module and giving it a name, you can populate it with already created course materials or create placeholders for content you’ll update later. The following items can be added to Modules:
- Assignments
- Quizzes*
- Files
- Pages
- Text Headers
- Links to external websites
- Discussions
- Class Recordings/Videos
- Some 3rd Party Tools
*New Quizzes will return students to the Modules index page, rather than the next item in the Module. If adding New Quizzes to a Module, copy the URL of the quiz and add it to the Module as an “External URL” that opens in a new tab so students don’t lose their place in the Module.
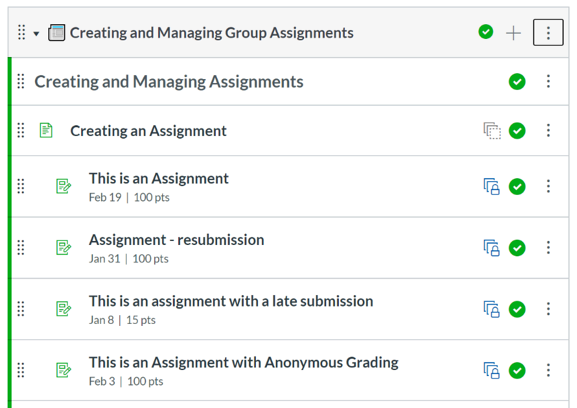
When you add a new or existing item to a Module, you’ll have the option to indent the item, which can be used to create an outline structure. Each Module item will display an icon to the left of the item name so you can see at a glance what types of content are included.
Want to add an icon to the Module name, too? Canvas supports lots of emojis, which can be added to the beginning of a Module name to visually distinguish Modules.
How can I use Modules to control student access and view student progress?
There are several ways to control the way in which students can access course materials using Modules. You can:
- Lock Modules until a specified date
- Set Prerequisites which students must complete before moving to the next Module
- Add Requirements to make students complete the items within a Module in sequential order
- Additionally, you can hide any items you don’t want students to see by keeping the items unpublished. (For more information, see our Guide to Publishing in Canvas).
To view the Module progress of individual students, click the “View Progress” button at the top of the Modules page. If you have set up Requirements within the Modules, you’ll see whether students “completed” each item (either by viewing it, marking it as done, submitting it, or earning a certain score in the case of a quiz/exam)
How do students interact with Modules?
Students can move through a Module by clicking the “Next” button at the bottom right of the page. Clicking the “Back” button allows them to return to previous content.
To experience how students will interact with the Modules and see what content is available to them, you can turn on Student View. Students will not be able to access any unpublished Modules or content.
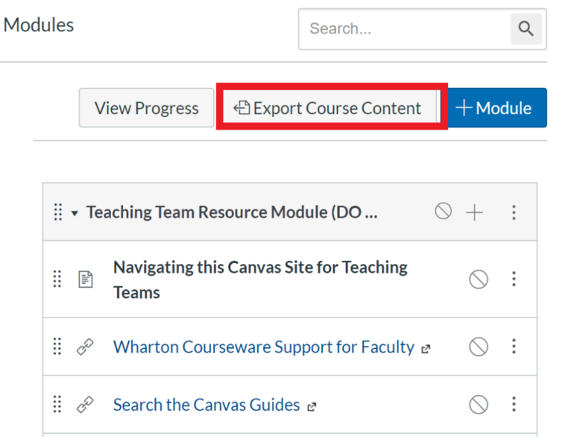
Modules also allow students to download all course content as an HTML file for offline viewing. This feature only lets them download content to which they have access—they cannot download any unpublished content or any files/content that has been intentionally hidden from them. This feature can also be disabled if you do not want students to be able to download content this way.
Questions about using Modules in your course site? Email us at courseware@wharton.upenn.edu.